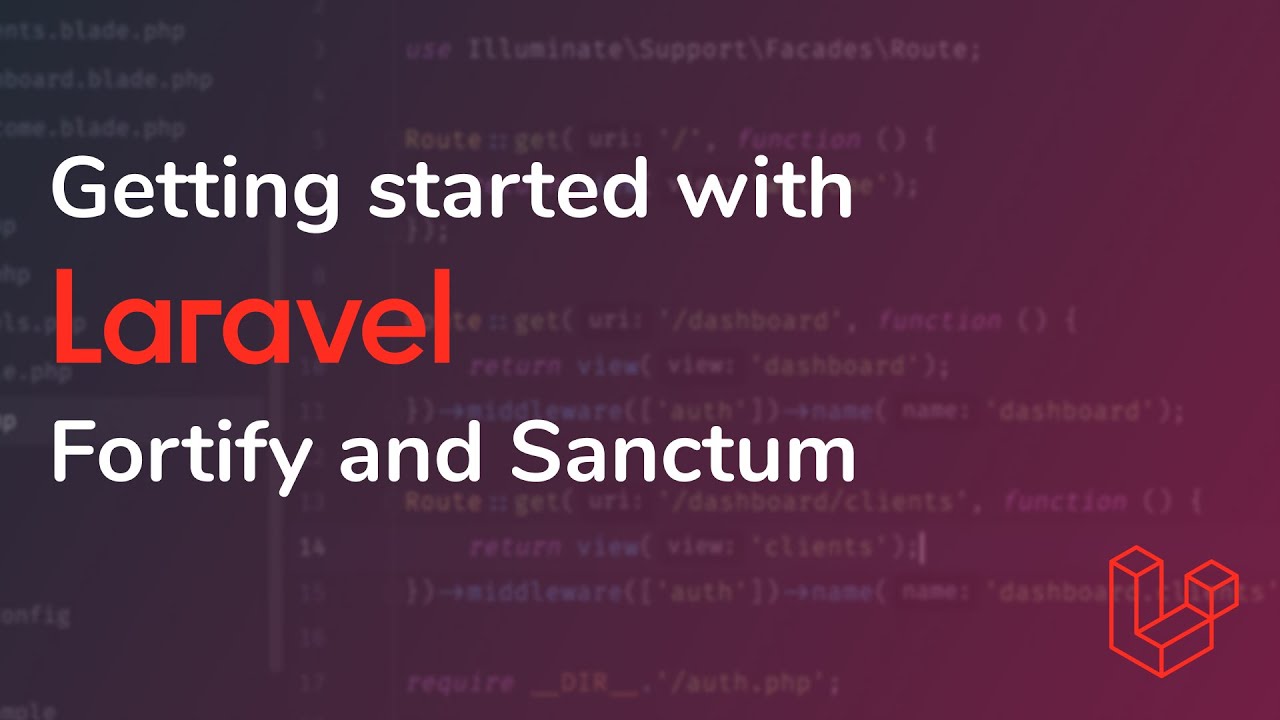
Master Laravel authentication! Learn the differences, setup, and best use cases for traditional sessions, Fortify's headless auth, and Sanctum's API tokens. Secure your apps effectively.
Navigating Laravel Authentication: A Practical Guide
Authentication is the bedrock of nearly every modern web application. It's the gatekeeper, ensuring that only authorized users can access sensitive information and perform specific actions. For developers building with Laravel, the framework offers a robust, flexible, and often bewildering array of authentication mechanisms. From traditional session-based systems to modern API tokens and headless solutions, Laravel provides powerful tools.
Understanding when and how to deploy Laravel's primary authentication solutions – Sessions, Fortify, and Sanctum – is crucial for building secure, scalable, and user-friendly applications. This guide will demystify each approach, offering clear explanations, practical use cases, and best practices to help you make informed decisions for your projects.
The Cornerstone: Laravel's Session-Based Authentication
At its heart, Laravel's traditional authentication system relies on sessions. This is the classic approach for server-rendered web applications, where the server manages user state across multiple requests.
How Session-Based Authentication Works
When a user successfully logs in, Laravel creates a unique session for them on the server. A session ID is then stored in a secure, encrypted cookie on the user's browser. With every subsequent request, the browser sends this cookie back to the server. Laravel uses the session ID from the cookie to retrieve the user's session data, confirming their identity and authorization.
- `web` Middleware Group: This group, applied to most web routes by default, handles session management, CSRF protection, and cookie encryption.
- Cookies: Encrypted HTTP-only cookies store the session ID, making them inaccessible to JavaScript and harder for attackers to steal.
- Session Store: Laravel supports various session drivers (file, database, Redis, Memcached) to store the actual session data on the server.
- `Auth` Facade: Provides convenient methods like `Auth::attempt()`, `Auth::login()`, `Auth::user()`, and `Auth::logout()` to interact with the authentication system.
Setting Up Traditional Authentication
Historically, Laravel provided a simple command (`php artisan make:auth`) to scaffold authentication. While that command is deprecated, similar functionality is now available via the `laravel/ui` package or more modern starter kits like Breeze and Jetstream, which build upon these fundamentals.
After installation, you'll typically have routes for login, registration, password reset, and a default `LoginController`, `RegisterController`, etc. The `auth` middleware protects routes, redirecting unauthenticated users to the login page.
💡 Expert Insight: While `laravel/ui` provides basic scaffolding, consider Laravel Breeze or Jetstream for a more complete and opinionated starting point that integrates with modern frontend stacks like Livewire or Inertia. They often include Fortify under the hood.
Pros and Cons of Session-Based Authentication
- Pros:
- Simplicity: Easiest to set up for traditional, server-rendered applications.
- Built-in Security: Robust CSRF protection, session fixation prevention, and secure cookie handling out-of-the-box.
- Seamless User Experience: Users remain logged in across browser sessions (if "remember me" is enabled).
- Cons:
- Not for APIs: Cookies are browser-specific and don't work well for stateless APIs consumed by mobile apps or third-party services.
- CORS Challenges: Can be tricky with cross-origin requests in Single Page Applications (SPAs) without careful configuration.
- Scalability: Session storage needs to be handled carefully in load-balanced environments to ensure session stickiness or shared session stores.
When to Use Session-Based Authentication
Opt for Laravel's traditional session-based authentication when building:
- Standard web applications where the backend renders HTML (e.g., blogs, e-commerce sites, admin panels).
- Applications where the frontend and backend reside on the same domain and share a common session.
- Projects where simplicity and quick setup for user authentication are paramount.
The Headless Powerhouse: Laravel Fortify
As applications evolved towards SPAs and mobile-first experiences, the need for a "headless" authentication solution became apparent. Laravel Fortify steps in to fill this gap, providing the backend logic for common authentication features without dictating the frontend UI.
What is Laravel Fortify?
Fortify is a backend package that provides all the routes and controller logic for user authentication, registration, password resets, email verification, and two-factor authentication. It's designed to be consumed by any frontend framework (Vue, React, Angular, Inertia.js, Livewire) that handles the actual user interface and HTTP requests.
Think of Fortify as the brain of your authentication system, handling all the complex security logic, while your frontend provides the face. It removes the boilerplate of writing these backend services repeatedly.
Key Features Provided by Fortify
Fortify offers a comprehensive suite of authentication features out-of-the-box:
- Registration: User creation and validation.
- Login: User authentication against credentials.
- Logout: Session invalidation.
- Password Reset: Secure password recovery via email.
- Email Verification: Ensures users provide valid email addresses.
- Two-Factor Authentication (2FA): Adds an extra layer of security with time-based one-time passwords (TOTP).
Integrating with Fortify
After installing Fortify (`composer require laravel/fortify`) and publishing its assets, you'll configure which features you want to enable in `config/fortify.php`. Fortify then registers a set of routes that your frontend can interact with. For example, your frontend might send a POST request to `/login` with user credentials, and Fortify handles the authentication process, returning appropriate responses.
It integrates seamlessly with Laravel's session-based authentication for SPAs (using Sanctum for CSRF protection) or can be used with API tokens for mobile apps.
Pros and Cons of Laravel Fortify
- Pros:
- Frontend Agnostic: Works with any frontend framework.
- Feature-Rich: Comprehensive authentication features, including 2FA.
- Secure by Design: Handles complex security considerations for you.
- Reduces Boilerplate: No need to write basic auth logic repeatedly.
- Cons:
- Requires Frontend Work: You still need to build the UI for all authentication flows.
- Steeper Learning Curve: More configuration than basic session auth if you're new to headless architectures.
When to Use Laravel Fortify
Fortify is an excellent choice for:
- Building Single Page Applications (SPAs) with frameworks like Vue, React, or Angular, where the frontend needs to handle the UI.
- Developing native mobile applications that consume a Laravel API for authentication.
- When you need a robust, feature-rich authentication backend but desire complete control over the frontend experience.
API Security Simplified: Laravel Sanctum
Laravel Sanctum (formerly Airlock) provides a simple, token-based authentication system for SPAs, mobile applications, and simple APIs. It offers a lightweight alternative to more complex OAuth solutions.
What is Laravel Sanctum?
Sanctum addresses two distinct but related authentication needs:
- API Token Authentication: For mobile apps and third-party APIs, Sanctum allows users to generate multiple API tokens for their account. These tokens are long-lived, randomly generated strings that are sent with each request in the `Authorization` header.
- SPA Authentication: For first-party SPAs (where your frontend and backend are on different subdomains but still part of the same application), Sanctum provides a simple way to authenticate using Laravel's existing session/cookie authentication, including robust CSRF protection. It acts as a bridge, making session-based authentication work seamlessly across domains. This is *not* token-based in the traditional sense for SPAs; it leverages standard cookie authentication.
How Sanctum Works
API Tokens
When using API tokens, a user logs in (perhaps via a traditional form or Fortify's login endpoint), then generates an API token. This token is stored on the client (e.g., mobile app, JavaScript storage) and sent with every subsequent request in the `Authorization: Bearer {token}` header. Laravel then uses this token to identify and authenticate the user.
SPA Authentication
For SPAs, the frontend makes a request to a login route, Laravel sets a session cookie, and Sanctum ensures that subsequent requests from the SPA include the session cookie and a valid CSRF token. This allows the SPA to maintain a session with the backend without needing to pass an explicit API token on every request.
Setting Up and Using Sanctum
1. Installation: `composer require laravel/sanctum` 2. Publishing: `php artisan vendor:publish --provider="Laravel\Sanctum\SanctumServiceProvider"` (for migrations) 3. Migrations: `php artisan migrate` (creates the `personal_access_tokens` table). 4. `HasApiTokens` Trait: Add the `Laravel\Sanctum\HasApiTokens` trait to your `User` model. 5. Protecting Routes: Use the `auth:sanctum` middleware on your API routes.
To generate a token for an authenticated user:
$user = Auth::user();
$token = $user->createToken('my-app-token')->plainTextToken;
For SPA authentication, ensure your frontend makes a `GET` request to `/sanctum/csrf-cookie` to initialize CSRF protection before logging in.
💡 Pro Tip: When using Sanctum for SPAs across different subdomains, ensure you configure the `SANCTUM_STATEFUL_DOMAINS` environment variable in your `.env` file to include your frontend's domain, e.g., `SANCTUM_STATEFUL_DOMAINS=yourfrontend.com`. This is crucial for cookie-based authentication to work correctly.
Pros and Cons of Laravel Sanctum
- Pros:
- Simplicity: Easy to set up for basic API token and SPA authentication.
- Lightweight: Less complex than full OAuth 2 implementations.
- Flexible: Supports both stateless API tokens and stateful SPA authentication.
- Fine-grained Permissions: Tokens can have specific "abilities" (scopes).
- Cons:
- Not for Complex OAuth: Doesn't replace full OAuth 2 for third-party integrations requiring refresh tokens, authorization codes, etc.
- Token Management: Users need a way to generate, revoke, and manage their tokens (often handled via a user profile page).
- Security of Tokens: API tokens are essentially passwords; they must be stored securely on the client-side.
When to Use Laravel Sanctum
Sanctum is ideal for:
- First-party Single Page Applications (SPAs) that consume a Laravel API.
- Native mobile applications interacting with your Laravel backend.
- Simple APIs where you need a straightforward token-based authentication system.
- Providing users with personal access tokens for programmatic access to their data.
Choosing Your Laravel Authentication Strategy
With three powerful options, deciding which to use can seem daunting. Here's a practical guide to help you choose:
-
Traditional Web Application (Server-Rendered HTML):
- If your application primarily renders HTML on the server and relies on full page reloads, **Laravel's Session-Based Authentication** is your go-to. It's simple, secure, and built for this exact use case.
-
Single Page Application (SPA) with Custom Frontend (Vue, React, Angular, Inertia, Livewire):
- If you're building an SPA with a distinct frontend and need rich authentication features (registration, password reset, 2FA), then **Laravel Fortify** provides the robust backend services.
- Pair Fortify with **Laravel Sanctum** for seamless SPA authentication (using cookies for stateful sessions) or for issuing API tokens if your SPA also interacts with other APIs or needs to allow programmatic access.
-
Native Mobile Application or Simple API:
- For mobile apps or APIs that require stateless token authentication, **Laravel Sanctum's API Token** functionality is the perfect fit. It's lightweight and provides fine-grained control over token abilities.
- If your mobile app also needs features like password reset or 2FA, you can still use **Fortify** as the backend service, with Sanctum handling the token issuance and validation.
Best Practices for Secure Laravel Authentication
Regardless of the method you choose, adhering to security best practices is paramount:
- Always Use HTTPS: Encrypt all communication to prevent man-in-the-middle attacks.
- Strong Password Policies: Enforce minimum length, complexity, and disallow common passwords.
- Implement Two-Factor Authentication (2FA): Provide 2FA as an option (Fortify makes this easy).
- Rate Limiting: Protect login and registration endpoints from brute-force attacks. Laravel's built-in rate limiting is excellent for this.
- Regular Updates: Keep Laravel and all its dependencies updated to patch known vulnerabilities.
- Secure Session Configuration: Ensure your `SESSION_DOMAIN` and `SESSION_SECURE_COOKIE` settings are correct in production.
- Educate Users: Encourage strong, unique passwords and awareness of phishing attempts.
Frequently Asked Questions (FAQ)
1. Can I use Fortify and Sanctum together?
Absolutely, and it's a very common and recommended setup for SPAs and mobile applications. Fortify provides the comprehensive backend authentication services (login, registration, password reset, 2FA), while Sanctum handles the API token management or facilitates stateful SPA authentication using cookies.
2. Is Laravel Passport better than Sanctum for APIs?
Laravel Passport is a full OAuth2 server implementation, designed for scenarios where you need to authenticate third-party clients and grant them granular access to your API (e.g., "Login with Google" for your app). Sanctum is simpler and lighter, ideal for first-party SPAs, mobile apps, and simple APIs where you control both the client and server. If you need a complete OAuth2 provider, Passport is the choice; for simpler token-based authentication, Sanctum is often sufficient and easier to manage.
3. How do I protect against CSRF attacks with Fortify/Sanctum?
For SPAs using Sanctum, ensure your frontend makes a `GET` request to `/sanctum/csrf-cookie` before making any login or state-changing requests. This endpoint sets an `XSRF-TOKEN` cookie. Subsequent requests should then send the `X-XSRF-TOKEN` header with the value from that cookie, which Sanctum automatically validates. For traditional session-based apps, Laravel's `web` middleware group handles CSRF protection automatically.
4. What's the difference between `auth:web` and `auth:sanctum` middleware?
`auth:web` authenticates users based on their session cookie, primarily for traditional, server-rendered web applications. `auth:sanctum` authenticates users based on either an API token present in the `Authorization` header or, for SPAs, by validating the session cookie and CSRF token. They serve different contexts but ultimately achieve user authentication.
Conclusion and Next Steps
Laravel's authentication ecosystem is incredibly powerful and flexible, offering tailored solutions for virtually any application architecture. Whether you're building a traditional web application, a cutting-edge SPA, or a robust mobile backend, Laravel provides the tools to secure your users and data effectively.
By understanding the distinct roles of session-based authentication, Fortify, and Sanctum, you can confidently choose the right strategy for your next project. Remember that security is an ongoing process, not a one-time setup. Always prioritize best practices, stay updated with the latest Laravel releases, and continuously review your authentication flows.
Your Next Steps:
- Identify your application's primary client type (traditional web, SPA, mobile app).
- Based on your needs, choose the most appropriate Laravel authentication solution(s).
- Familiarize yourself with Laravel Breeze or Jetstream as excellent starting points that integrate these solutions.
- Implement robust security practices, including HTTPS, strong password policies, and rate limiting.
Happy authenticating!